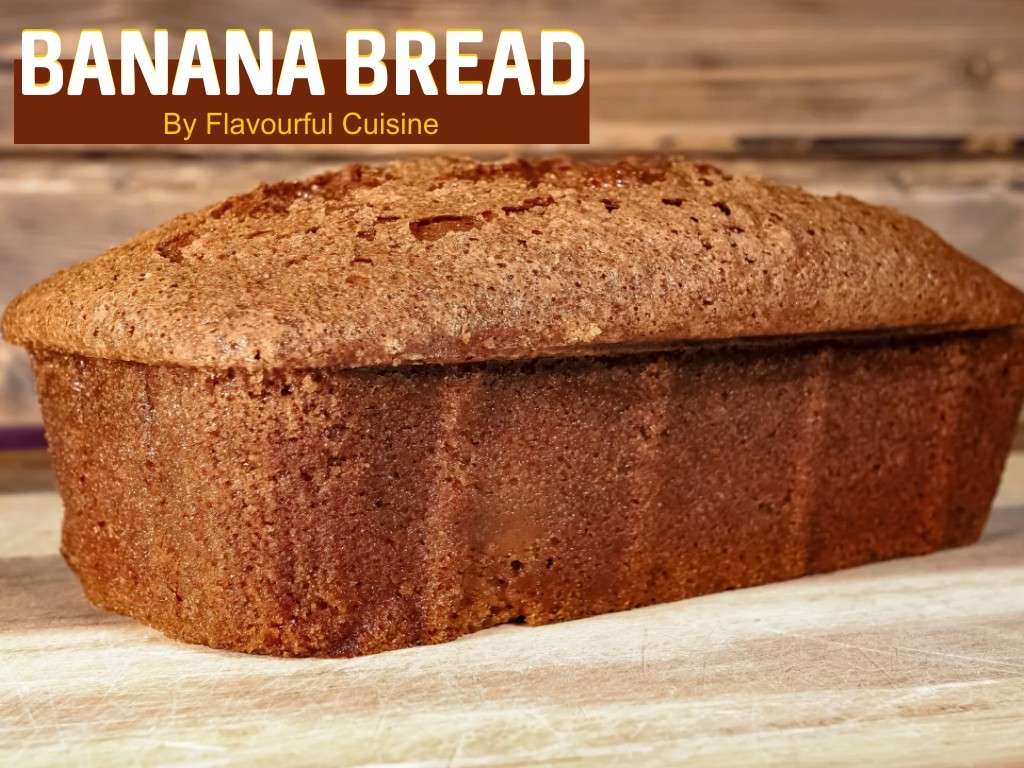

I had heard a lot about banana bread, my family always said I couldn’t quite get the taste right. One day, I decided to try making it at home. It was a Sunday and I was free, so I gave it a go even though I didn’t really know the proper method for making banana bread. I tried anyway, but I failed, the bread did bake and turn brown on the outside, but the inside was strange it felt as though it was still raw.
I realised that I had made some mistakes somewhere along the way, and the bread hadn’t turned out well at all. I decided to try the following Sunday again. I looked up recipes and followed specific tips and tricks, and this time the bread turned out incredibly delicious and moist. I will share those tips and tricks with you so that you can avoid the mistakes I made.
Why This Recipe Is Different From Other Recipes
There are thousands of banana bread recipes online, so let me be honest about why this one earns a permanent spot in your recipe box.
I also use a combination of brown sugar and a touch of yogurt (or sour cream, if that’s what’s in your fridge) instead of relying purely on white sugar and milk. Brown sugar keeps the crumb moist for days, not just the first day out of the oven, and the yogurt adds a gentle tang that balances the sweetness beautifully.
This is a recipe where you can add your choice of dried fruits. It is a high-protein bread. You can consume this bread even if you are dieting or have diabetes, as you have full control over the amount of sugar or protein added, which is beneficial for your health.
My Personal Experience Regarding Banana Bread
As I mentioned to you before, the first time I made banana bread, it turned out quite badly. The top had turned golden brown, but the inside was still raw. My initial experience with making banana bread was very poor.
The next time I made banana bread, I reflected on my previous mistakes. Whenever I make it, I try out small variations experimenting to see what works best to achieve the perfect loaf. I am sharing these tips and tricks with you here.
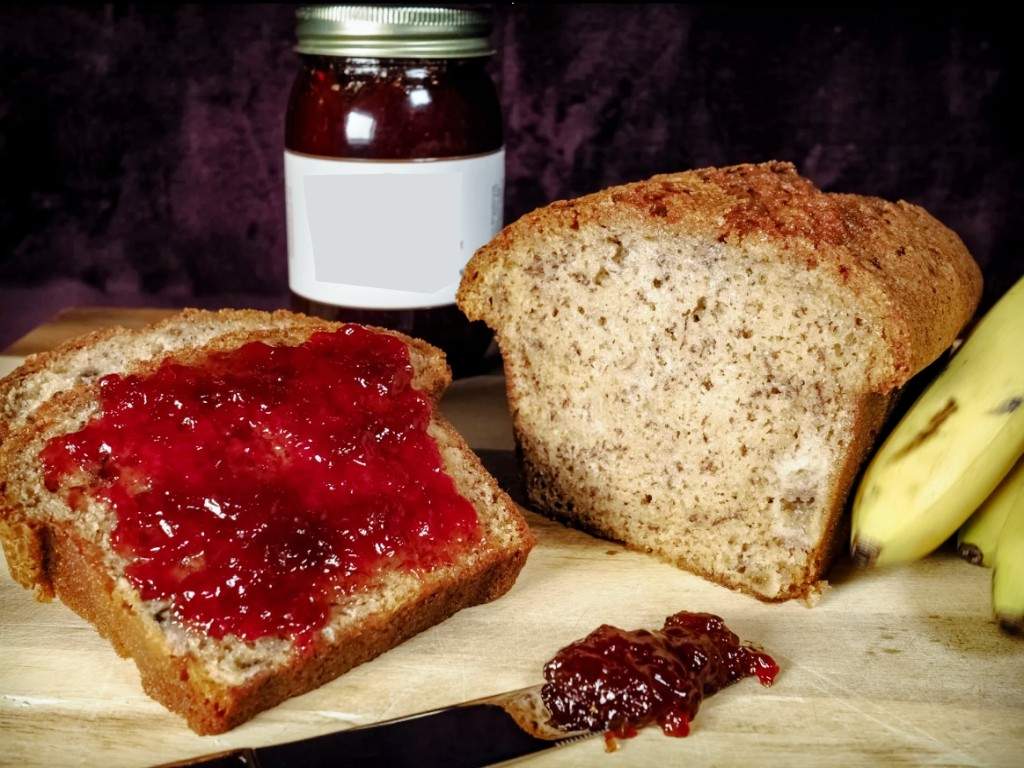
Secrete Hacks Of Banana Bread
Flavor Hacks
- Brown a portion of your butter before mixing it in. It only takes a few extra minutes and adds a nutty, caramel depth that plain melted butter can’t match.
- Add a teaspoon of good vanilla extract and a pinch of ground cinnamon; both round out the banana flavor without overpowering it.
- Let your loaf rest for at least 20 minutes before slicing. Cutting too early releases steam and can make the bread taste less flavorful and more crumbly.
Storage Hacks
- Wrap the fully cooled loaf tightly in plastic wrap, then again in foil, to lock in moisture and prevent it from drying out.
- Store at room temperature for up to 3 days, or in the refrigerator for up to a week if your kitchen runs warm.
- Slice and freeze individual pieces separated by parchment paper, so you can pull out just what you need.
Ingredients You’ll Need This Recipe
| Ingredient | Quantity |
| Ripe bananas (heavily spotted) | 3 large (about 1½ cups mashed) |
| All-purpose flour | 1¾ cups (220g) |
| Baking soda | 1 teaspoon |
| Salt | ½ teaspoon |
| Ground cinnamon | ½ teaspoon |
| Unsalted butter | ½ cup (113g), melted (browned if possible) |
| Brown sugar | ¾ cup (150g), packed |
| Eggs | 2 large, room temperature |
| Plain yogurt or sour cream | ¼ cup (60g) |
| Vanilla extract | 1 teaspoon |
| Vanilla protein powder (optional) | ¼ cup (30g) |
| Chopped walnuts or chocolate chips (optional) | ½ cup (60g) |
Kitchen Tools Required
| Tool |
| 9×5-inch loaf pan |
| Mixing bowls (2) |
| Whisk |
| Rubber spatula |
| Fork or potato masher |
| Wire cooling rack |
Step-by-Step Instructions To Making Perfect Moist Bread
Step 1: Prep your oven and pan
Preheat your oven to 350°F (175°C). Grease your loaf pan generously with butter or non-stick spray, then line it with parchment paper, leaving an overhang on the long sides for easy removal.
- Time needed: 5 minutes
- Visual cue: Pan should be fully coated with no dry spots.
- Common mistake: Skipping the parchment paper — the bread can stick badly, especially on the bottom.
- Chef’s tip: The parchment overhang lets you lift the entire loaf out cleanly once baked.
Step 2: Mash the bananas
In a large bowl, mash your ripe bananas with a fork until mostly smooth, with a few small lumps remaining for texture.
- Time needed: 2-3 minutes
- Visual cue: The mixture should look thick and glossy, similar to a smooth applesauce with tiny flecks.
- Common mistake: Over-mashing until completely liquid — a bit of texture keeps the bread interesting.
- Chef’s tip: The riper and spottier the bananas, the less effort this step takes.
Step 3: Mix wet ingredients
To the mashed bananas, add the melted (or browned) butter, brown sugar, eggs, yogurt, and vanilla extract. Whisk until fully combined and smooth.
- Time needed: 3 minutes
- Visual cue: Mixture should be uniform in color with no streaks of egg or sugar visible.
- Common mistake: Adding hot melted butter directly to eggs — this can scramble them. Let butter cool slightly first.
- Chef’s tip: Whisking by hand here (rather than a mixer) helps you avoid overworking the batter later.
Step 4: Combine dry ingredients separately
In a separate bowl, whisk together the flour, baking soda, salt, cinnamon, and protein powder (if using) until evenly combined.
- Time needed: 2 minutes
- Visual cue: No visible clumps of baking soda remain.
- Common mistake: Skipping this step and dumping dry ingredients straight in — this causes uneven leavening.
- Chef’s tip: Whisking dry ingredients separately is the single easiest way to avoid pockets of bitterness from baking soda.
Step 5: Fold wet and dry together
Add the dry ingredients to the wet mixture in two batches, folding gently with a spatula just until no dry flour streaks remain.
- Time needed: 1-2 minutes
- Visual cue: Batter should look thick, slightly lumpy, and matte rather than glossy and smooth.
- Common mistake: Overmixing at this stage — this is the number one cause of tough, rubbery banana bread.
- Chef’s tip: Stop mixing the moment you no longer see dry flour. A few small lumps are perfectly fine.
Step 6: Fold in mix-ins
If using nuts or chocolate chips, toss them lightly in a teaspoon of flour, then fold into the batter with just a few strokes.
- Time needed: 1 minute
- Visual cue: Mix-ins should be evenly distributed without deflating the batter.
- Common mistake: Adding mix-ins without the flour coating — they’ll sink straight to the bottom.
- Chef’s tip: Reserve a small handful to sprinkle on top before baking for a prettier finished loaf.
Step 7: Pour and bake
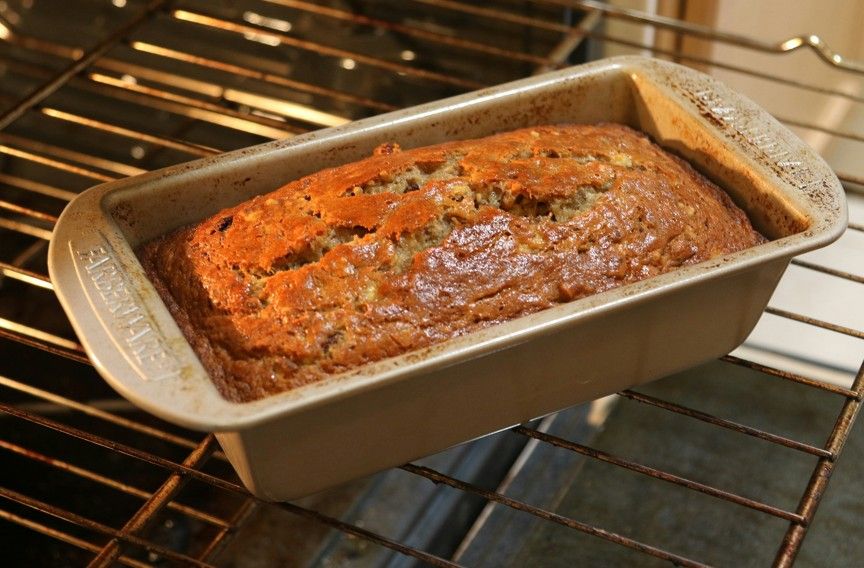
Pour the batter into your prepared loaf pan, smoothing the top with your spatula. Bake for 55-65 minutes.
- Time needed: 55-65 minutes
- Visual cue: Top should be deep golden brown with a crack down the center; a toothpick inserted in the middle should come out with a few moist crumbs, not wet batter.
- Common mistake: Opening the oven door in the first 25 minutes — this can cause the loaf to sink in the middle.
- Chef’s tip: If the top is browning too quickly before the inside is done, loosely tent it with foil around the 35-minute mark.
Step 8: Cool completely
Let the loaf cool in the pan for 15 minutes, then use the parchment overhang to lift it onto a wire rack to cool completely.
- Time needed: 1.5-2 hours
- Visual cue: Loaf should feel firm to the touch and no longer warm in the center.
- Common mistake: Slicing too early — this releases steam and moisture, making the bread seem gummy even when it’s perfectly baked.
- Chef’s tip: If you can resist, letting it rest for a few hours (or overnight) actually improves the flavor and texture.
Recipe Card
| Recipe Name | Super Moist Banana Bread |
| Author | Chef Bisma |
| Cuisine | American |
| Course | Breakfast / Snack / Dessert |
| Difficulty Level | Easy |
| Preparation Time | 15 minutes |
| Cooking Time | 60 minutes |
| Total Time | 1 hour 15 minutes (plus cooling) |
| Servings | 10 slices |
| Calories | ~245 kcal per slice |
| Equipment | 9×5-inch loaf pan, mixing bowls, whisk, spatula, wire rack |
| Main Ingredients | Ripe bananas, flour, brown sugar, butter, eggs, yogurt, cinnamon |
Nutrition Information (Per Serving)
| Nutrient | Amount |
| Calories | 245 kcal |
| Protein | 6g |
| Carbohydrates | 34g |
| Fat | 10g |
| Fiber | 2g |
| Sugar | 17g |
| Sodium | 190mg |
Serving Suggestions
This banana bread is wonderful on its own, but a few pairings take it to the next level. A warm cup of chai or a well-brewed cappuccino complements the cinnamon and caramelized banana notes beautifully.
For breakfast, try a slice lightly toasted with a smear of salted butter or cream cheese. If you’re serving it as a dessert, a scoop of vanilla ice cream or a drizzle of honey turns it into something special enough for guests.
It also pairs nicely with fresh fruit on the side — sliced strawberries or a handful of berries add a fresh, tart contrast to the sweetness of the loaf.
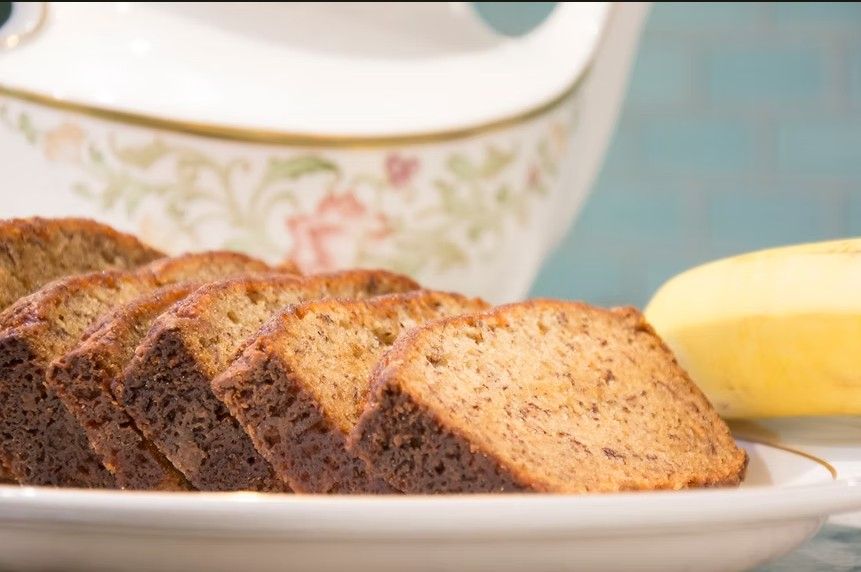
Storage and Reheating Guide
- Refrigerator: Store the cooled, wrapped loaf in the fridge for up to 7 days. The cold actually helps it stay moist longer, though it firms up slightly, so a quick warm-up before serving helps.
- Freezer: Wrap the whole loaf or individual slices tightly in plastic wrap and foil, then freeze for up to 3 months. Thaw at room temperature for a few hours, or overnight in the fridge.
- Reheating: Warm slices in the microwave for 10-15 seconds, or in a 300°F oven for about 5 minutes for a just-baked texture. Avoid over-microwaving, as it can make the bread rubbery.
- Shelf life: At room temperature in an airtight container, the bread stays fresh and moist for about 3 days.
Frequently Asked Questions (FAQs)
Why did my banana loaf sink in the middle?
This usually happens from opening the oven door too early, using expired baking soda, or underbaking. Can I use frozen bananas for this recipe?
Absolutely. Thaw them completely first and drain off any excess liquid before mashing, since frozen bananas release more moisture than fresh ones.
What can I use instead of eggs?
Flax eggs (1 tablespoon ground flaxseed mixed with 3 tablespoons water per egg, rested for 5 minutes) work well as a plant-based substitute.
Why is my banana loaf dense or gummy?
This is almost always caused by overmixing the batter once the flour is added, or slicing the loaf before it has fully cooled.
Can I add protein powder without changing the texture?
Yes, ¼ cup of vanilla protein powder blends in seamlessly, adding extra protein without noticeably changing the taste or texture.
How ripe should my bananas actually be?
Look for bananas that are heavily speckled with brown spots, almost more brown than yellow. The riper the banana, the sweeter and more flavorful your loaf will be.
Final Thoughts
If there’s one recipe I hope you bookmark and come back to again and again, it’s this one. This banana bread has seen me through early morning deadlines, lazy weekend breakfasts, and more than a few batches baked purely because I couldn’t stand to waste spotty bananas sitting on my counter.
What I love most is how forgiving it is once you understand the few key rules — ripe bananas, gentle mixing, and patience while it cools. Once you’ve made it a couple of times, it becomes one of those recipes you can bake from memory, and that’s exactly what I want for you.
Give it a try this week, and I promise it’ll become a regular in your kitchen too. And if you make it, I’d love to hear how it turned out for you — every kitchen has its own quirks, and I always enjoy learning what little tweaks work best for you.
Happy cooking! — Chef Bisma
Recipes that You’ll Love too: