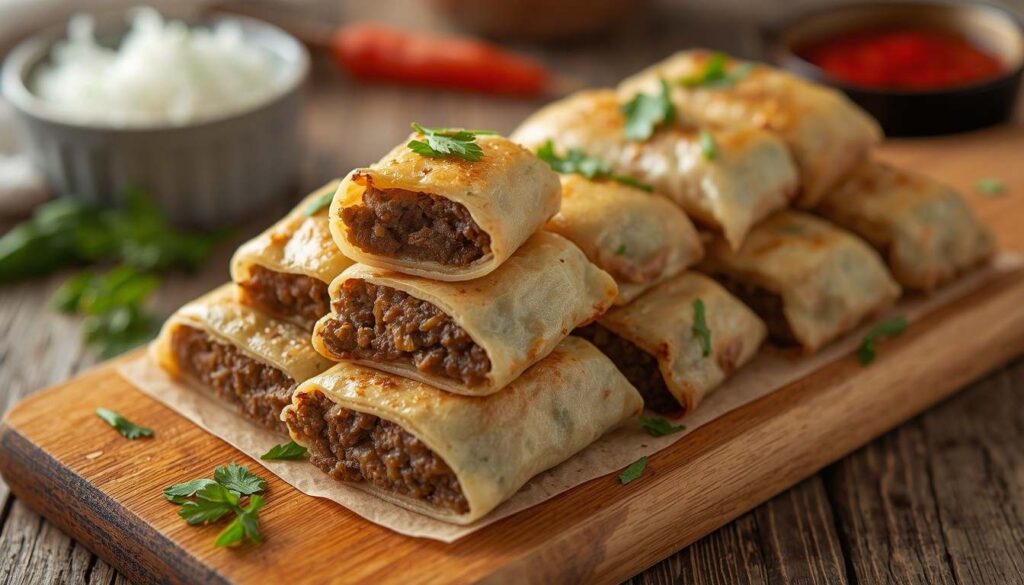

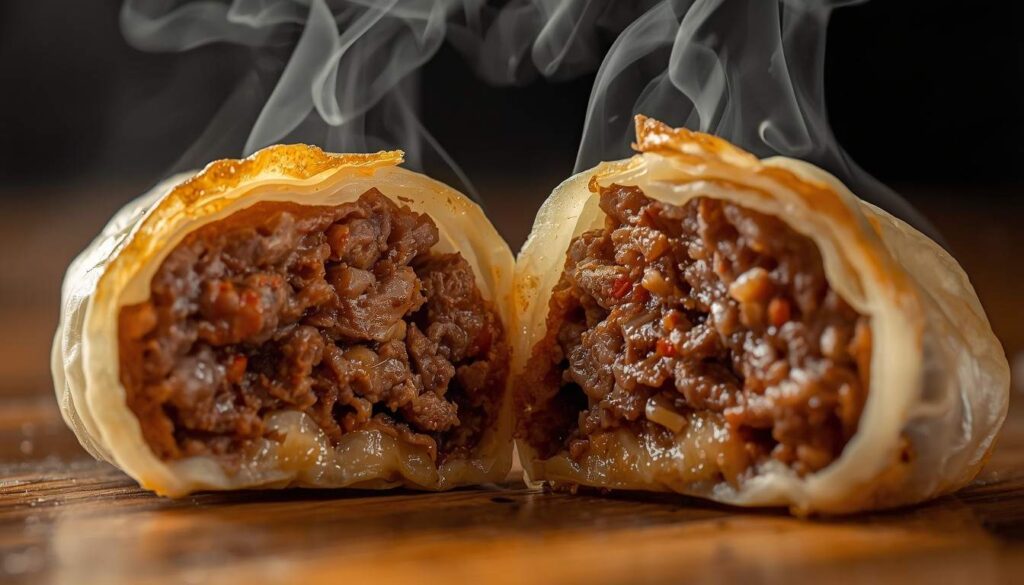
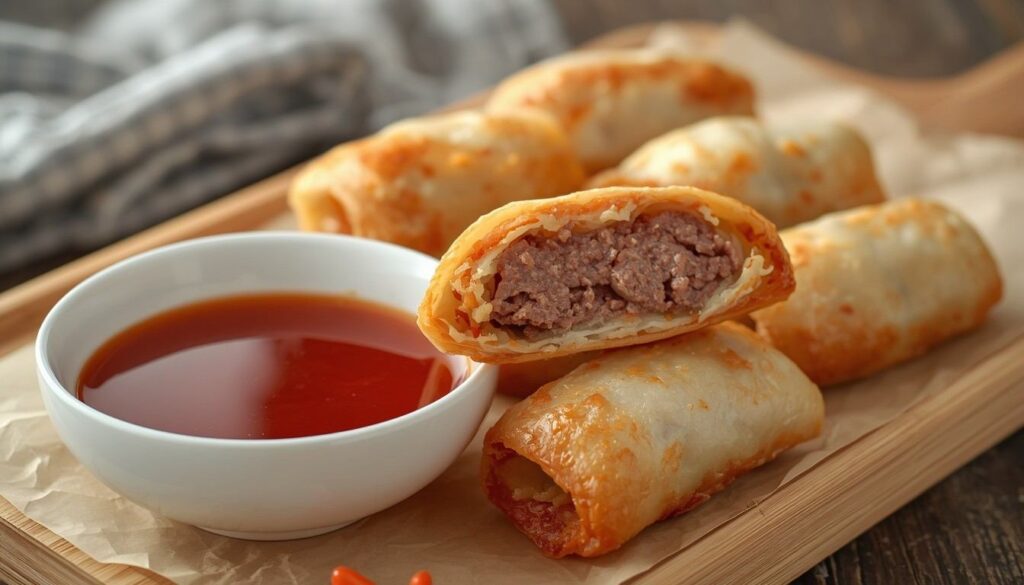
I make these beef dumpling rolls when I want something that feels a little special without actually being complicated. The filling comes together in one bowl, the rolling technique is easier than it looks once you’ve done two or three, and the payoff is enormous — golden, crackly wrappers giving way to a savory, gingery, slightly sweet beef center that’s genuinely hard to stop eating. My family calls them “the rolls,” as in, “are you making the rolls this weekend?” That’s usually how I know a recipe has earned a permanent spot in my rotation.
Why You’ll Love These Beef Dumpling Rolls
The first thing that sets this version apart is how the beef is seasoned before it ever touches the wrapper. I brown the beef partially first, which does two things: it renders off some of the fat so the filling isn’t greasy, and it builds a layer of caramelized flavor that raw-and-mixed fillings just don’t have. A lot of recipes skip this step entirely and mix raw ground beef straight with the aromatics, which can leave the filling tasting flat and a bit wet.
Second, I use a combination of fresh ginger, garlic, and a small amount of Shaoxing wine (or dry sherry as a substitute) in the filling.
Third, and this is the detail most recipes miss, I let the mixed filling rest in the fridge for at least twenty minutes before rolling. This firms up the fat, which makes rolling dramatically easier and prevents the filling from squeezing out through the wrapper seams while frying. It’s a small step that solves the single most common complaint I hear about homemade dumpling rolls: filling leaking into the oil.
Chef Bisma’s Tips & Experience
I’d tried something similar at a small family-run restaurant near my old neighborhood and became a little obsessed with recreating that crunch at home. My early attempts were messy — I used raw beef straight in the filling, overstuffed the wrappers because I wanted “more filling per bite,” and fried at too low a temperature out of fear of splattering oil. The rolls leaked filling into the pan, the wrappers stayed pale and chewy instead of crisp, and my kitchen smelled like burnt oil all evening.
A few rounds of trial and error fixed it. Partially cooking the beef and chilling the mixture before rolling solved the leaking almost completely. Frying at a proper 350°F–360°F, checked with a thermometer, fixed the pale wrapper problem. And I learned to stop overfilling — a measured tablespoon, rolled snugly, actually gives a better crisp-to-filling ratio and more rolls per batch.
This version, with the Shaoxing wine and rest period built in, became my favorite after a family gathering where a plate of twenty vanished in ten minutes. I’ve barely changed it since.
Recipe Success Hacks
Flavor Hacks
- Toast the sesame oil briefly in the pan with the ginger and garlic before adding it to the filling.
- Add a small pinch of white pepper along with the black pepper.
- Finish the filling with a teaspoon of oyster sauce for a savory depth.
- Serve with a dipping sauce that has some acidity
Meal Prep Hacks
- Make the filling up to two days ahead and store it covered in the fridge.
- Chop and prep all vegetables the night before and store them in an airtight container so the beef mixture comes together in minutes the next day.
Ingredients Breakdown
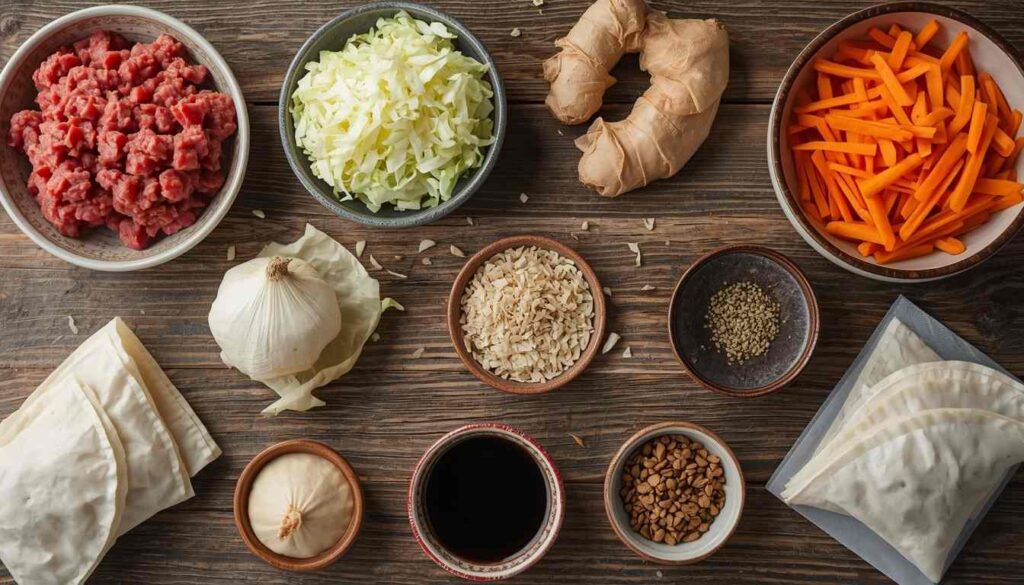
| Ingredient | Amount |
| Ground beef (80/20) | 1 lb (450g) |
| Green cabbage, finely shredded | 1½ cups |
| Carrot, finely grated | ½ cup |
| Green onions, finely chopped | 3 stalks |
| Fresh ginger, minced | 1 tablespoon |
| Garlic, minced | 3 cloves |
| Soy sauce | 2 tablespoons |
| Oyster sauce | 1 tablespoon |
| Shaoxing wine | 1 tablespoon |
| Sesame oil | 1 teaspoon |
| White pepper | ¼ teaspoon |
| Salt | ½ teaspoon, or to taste |
| Cornstarch | 1 tablespoon |
| Dumpling or spring roll wrappers | 24–26 wrappers |
| Neutral oil for frying | 2–3 cups |
| Cornstarch slurry (for sealing) | 1 tablespoon cornstarch + 2 tablespoons water |
Kitchen Tools Required
| Tool |
| Large mixing bowl |
| Wide skillet or wok |
| Sharp knife and cutting board |
| Box grater |
| Small pastry brush or your fingertip |
| Heavy-bottomed pot or deep fryer |
| Cooking or candy thermometer |
| Wire cooling rack |
| Slotted spoon or spider strainer |
| Baking sheet |
Step-by-Step Recipe Instructions
Step 1: Prepare the filling base (10 minutes)
In a wide skillet over medium-high heat, add a small drizzle of oil and cook the ground beef, breaking it up as it goes, until it’s about 70% cooked through and no longer pink on the outside — you still want some moisture left, so don’t cook it all the way at this stage. Drain off excess fat if there’s a lot pooling in the pan.
Step 2: Mix the filling (10 minutes)
Transfer the partially cooked beef to a large mixing bowl along with the shredded cabbage, grated carrot, green onions, ginger, garlic, soy sauce, oyster sauce, Shaoxing wine, sesame oil, white pepper, salt, and cornstarch. Mix thoroughly with a spoon or your hands until everything is evenly distributed.
Step 3: Chill the filling (20 minutes (inactive))
Cover the bowl and refrigerate the filling for at least 20 minutes, up to overnight. This firms up the fat in the beef and makes the mixture noticeably easier to roll without it squishing out the sides.
Step 4: Roll the dumplings (20–25 minutes)
Lay a wrapper flat with a corner pointing toward you (diamond orientation). Place about 1 tablespoon of filling just below the center. Fold the bottom corner up and over the filling, tuck it under, then fold in both side corners toward the center like an envelope. Roll upward tightly, and use a dab of cornstarch slurry along the top edge to seal.
Step 5: Heat the oil (5–8 minutes)
Pour 2 to 3 inches of oil into a heavy-bottomed pot and heat it over medium heat until it reaches 350°F to 360°F on a thermometer.
Visual cue: The oil should shimmer slightly and small bubbles should form steadily around a wooden chopstick dipped into it.
Step 6: Fry the rolls (3–4 minutes per batch)
Carefully lower 4 to 6 rolls into the hot oil at a time, without overcrowding the pot. Fry, turning occasionally, until deep golden brown and crisp on all sides.
Step 7: Drain and rest (2–3 minutes)
Remove the rolls with a slotted spoon and transfer them to a wire cooling rack rather than a paper-towel-lined plate, so steam can escape freely from underneath.
Recipe Card
| Recipe Name | Crispy Beef Dumpling Rolls |
| Author | Chef Bisma |
| Cuisine | Asian-inspired |
| Course | Appetizer / Snack |
| Difficulty Level | Intermediate |
| Preparation Time | 35 minutes |
| Cooking Time | 20 minutes |
| Total Time | 55 minutes (plus 20 minutes chilling) |
| Servings | 6 servings (about 24–26 rolls) |
| Calories | approximately 220 kcal per 3-roll serving |
| Equipment | Wide skillet, mixing bowl, heavy-bottomed pot or deep fryer, thermometer, wire rack |
| Main Ingredients | Ground beef, cabbage, carrot, ginger, garlic, soy sauce, dumpling wrappers |
Nutrition Information
| Nutrient | Amount Per Serving |
| Calories | 220 kcal |
| Protein | 11 g |
| Carbohydrates | 18 g |
| Fat | 11 g |
| Fiber | 1 g |
| Sugar | 2 g |
| Sodium | 430 mg |
Serving Suggestions
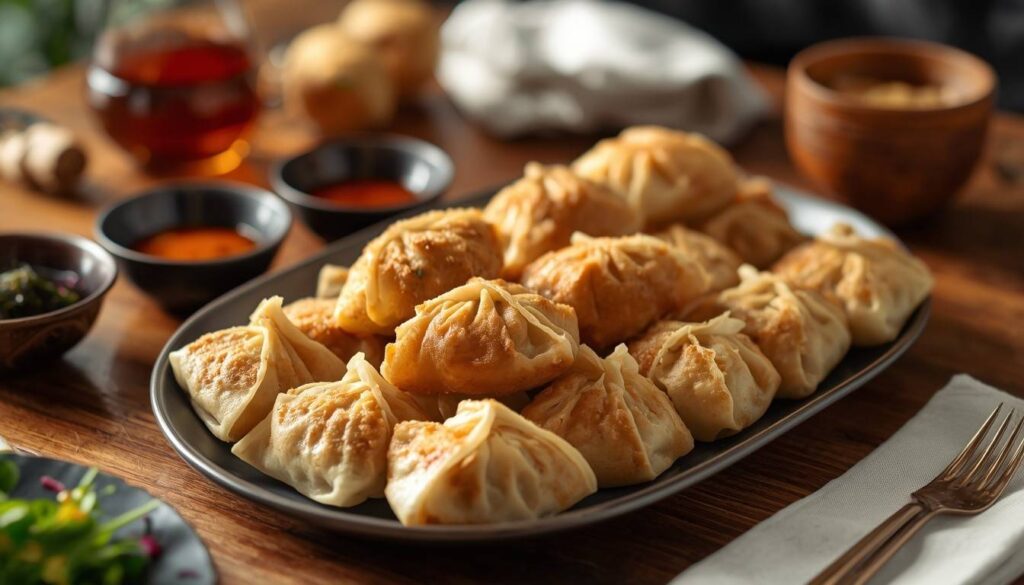
These beef dumpling rolls are best served hot, right after they’ve had a minute or two to rest, alongside a simple dipping sauce of soy sauce, rice vinegar, and a touch of chili oil.
For a fuller meal, pair them with steamed jasmine rice and a quick cucumber salad dressed with rice vinegar and sesame seeds — the acidity balances the richness of the fried wrapper nicely.
A light, chilled iced tea or a crisp sparkling water with lime works well as a drink pairing, since it cuts through the fried texture without competing with the beef flavor.
If you’re serving these at a gathering, arrange them on a platter with a few sauce options — sweet chili sauce, a garlic-soy dip, and a spicy mayo all pair beautifully.
Storage and Reheating Guide
Refrigerator: Store cooked rolls in an airtight container in the refrigerator for up to 3 days.
Freezer: Uncooked rolled dumplings freeze well for up to 2 months; freeze in a single layer on a tray first, then transfer to a freezer bag once solid. Cooked rolls can also be frozen for up to 1 month, though texture is best from freezing uncooked.
Reheating: Reheat cooked rolls in an air fryer or oven at 375°F for about 6 to 8 minutes until hot and crisp again. Frozen uncooked rolls can be fried or air-fried directly from frozen, adding a few extra minutes to the cooking time. Microwaving is not recommended, as it makes the wrappers soft and chewy instead of crisp.
Shelf Life: Best enjoyed within 3 days from the fridge or 2 months from the freezer for the best texture and flavor.
Frequently Asked Questions (FAQs)
1. Can I make beef dumpling rolls without a deep fryer?
Yes. A heavy-bottomed pot or wok with 2 to 3 inches of oil works just as well as a dedicated deep fryer.
2. Can I bake or air-fry these instead of deep-frying?
Absolutely. Brush the rolled dumplings lightly with oil and air-fry at 375°F for 10 to 12 minutes, flipping halfway, or bake on a lined tray at 400°F for about 15 to 18 minutes until golden and crisp.
3. Why did my dumpling rolls burst open while frying?
This is almost always caused by overfilling, an improperly sealed edge, or skipping the chilling step.
4. What’s the best dipping sauce for these dumpling rolls?
A simple mix of soy sauce, rice vinegar, a touch of sugar, and chili oil is my go-to, but sweet chili sauce or a garlic-soy dip both work beautifully too.
5. How do I keep the wrappers from drying out while I roll?
Keep the stack of unused wrappers covered with a slightly damp kitchen towel at all times, and only take out a few at a time as you work.
Final Thoughts
If there’s one recipe I’d hand a nervous first-time dumpling maker, it’s this one. The technique is forgiving once you understand the two things that actually matter — chilling the filling and watching your oil temperature — and everything else falls into place naturally. I still remember how proud I felt the first time a batch came out of the oil perfectly golden, with no leaks and no pale spots, after so many earlier attempts that didn’t quite get there.
Give yourself permission to make a slightly imperfect-looking roll or two on your first try. Mine still aren’t uniform, and honestly, I’ve stopped trying to make them look machine-made. What matters is that crisp, blistered wrapper and that juicy, well-seasoned beef center, and this recipe delivers both, every single time. I hope these beef dumpling rolls earn a permanent spot in your kitchen the way they have in mine.
Happy cooking! — Chef Bisma
Recipes that You’ll Love too: