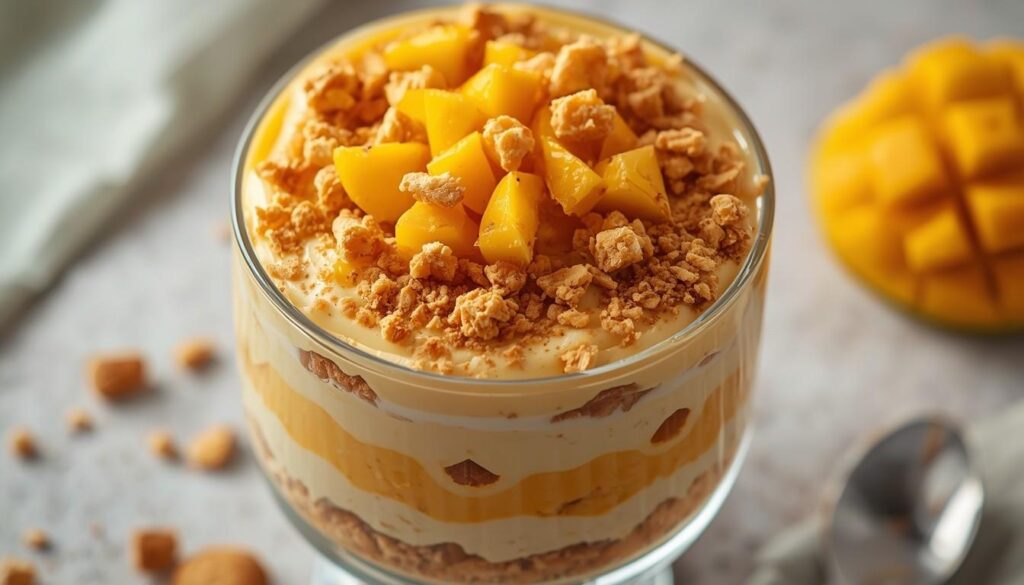

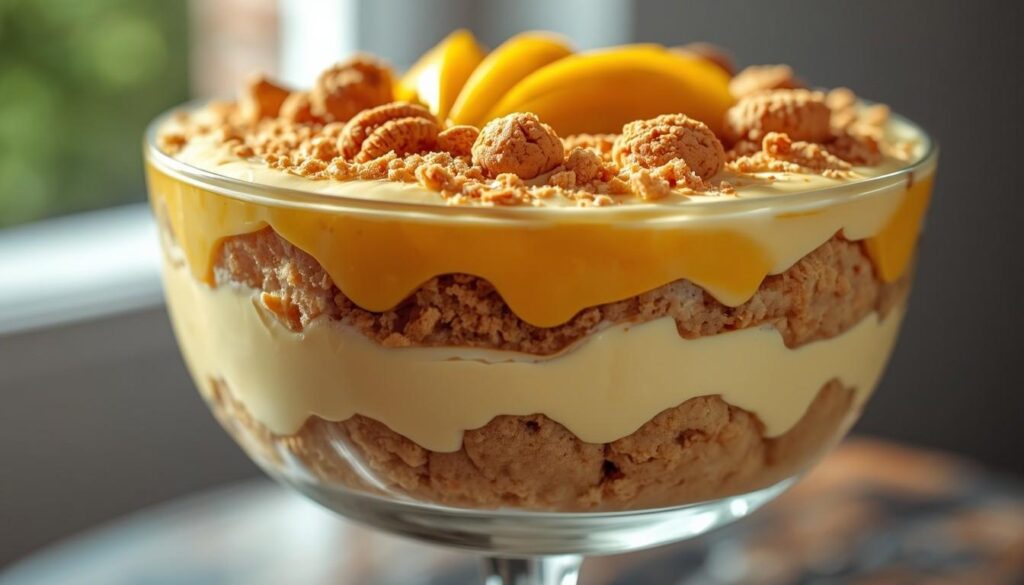
Lotus Mango Float is a Filipino dessert featuring layers of biscuits, mangoes, and whipped cream. Just imagine enjoying this chilled treat in sweltering heat; every spoonful offers such a soothing, refreshing sensation. It’s cool, it’s creamy, and it tastes like sunshine and caramel had a baby. This is the kind of dessert that needs zero oven time, comes together with a handful of everyday tools, and somehow still looks like it belongs in a bakery window.
Why no bake mango float Is Different
Most mango float recipes online use plain graham crackers and call it a day, and most Biscoff icebox cakes skip the fruit entirely. I wanted both, so I built a version that treats each element with real intention instead of just stacking ingredients on top of each other.
- Two textures of mango, not one
- Cream cheese for structure and tang.
- Biscoff spread between the layers, not just on top.
- A real chilling strategy.
Helpful tips for making easy lotus mango float recipe
When I first made the Lotus Mango Float, I didn’t get it quite right. I hadn’t considered the proper temperature for the cream or the mango puree, the cream wasn’t cold enough, which meant it didn’t whip up well, and the dessert’s texture was ruined.
The next attempt, I tried warming the spread for about twenty seconds in the microwave before drizzling it, and that alone made a significant difference. It went from a dessert with awkward hard bits to something that sliced like a proper icebox cake, with those beautiful caramel ribbons running through every layer.
My other big lesson was patience with the chilling time. Early on, I’d get impatient after two or three hours and serve it before the biscuits had fully softened, and the texture just wasn’t there yet, still a bit crisp in the center instead of that cake-like bite everyone loves. Once I started making it the night before and letting it sit in the fridge overnight, the difference was night and day.
Ingredients You’ll Need For Mango Float
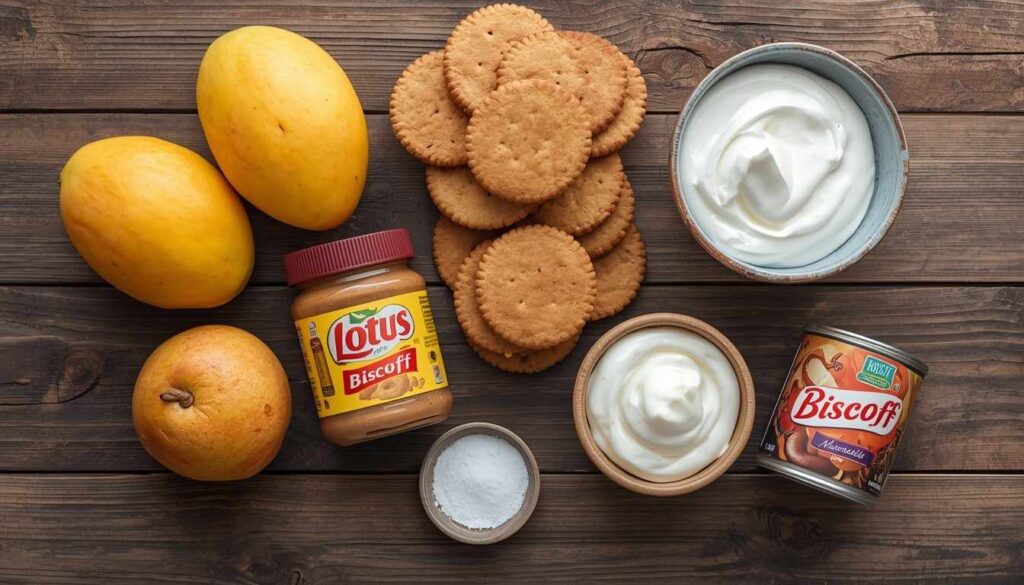
| Ingredient | Quantity |
| Lotus biscuits | 24-26 pieces |
| Ripe mangoes | 3 large (about 3 cups, pureed + sliced) |
| Heavy whipping cream | 2 cups, cold |
| Condensed milk | 1 cup (200g) |
| Cream cheese | 4 oz (113g), softened |
| Lotus spread | 1/3 cup, slightly warmed |
| Vanilla extract | 1 tsp |
| Fine sea salt | A pinch |
Step-by-Step Recipe Instructions
Step 1: Puree and Prep the Mango
Peel and roughly chop two of your mangoes, then blend them until completely smooth, about 30 seconds. Pass the puree through a fine mesh sieve if you notice any fibrous strands, this keeps your cream silky rather than stringy. Slice the third mango into thin, even pieces for layering and set aside. This whole step takes about 8 minutes. The puree should be smooth and pourable, roughly the consistency of a thick smoothie, if it looks watery, your mangoes may have been under-ripe and the float could turn out runny.
Step 2: Whip the Cream Base
In a large chilled bowl, beat the cold heavy cream on medium-high speed until soft peaks form, about 3 to 4 minutes. Add the condensed milk, softened cream cheese, vanilla extract, and salt, then continue beating until the mixture holds a firm, glossy peak, another 2 minutes or so. Watch for the point where the beaters leave clear trail marks in the cream; that’s your cue to stop, since overbeating can turn it grainy and buttery instead of light.
Step 3: Fold in the Mango
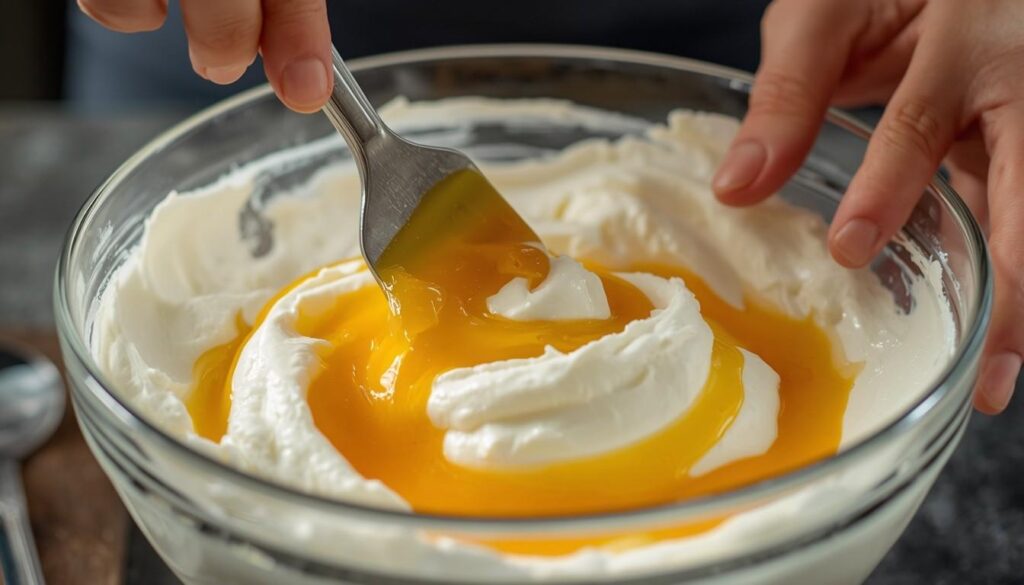
Using a rubber spatula, gently fold the mango puree into the whipped cream mixture in three additions, cutting through the center and turning the bowl as you go rather than stirring in circles. This takes about 2 minutes and should leave you with a pale, uniform golden cream with no white streaks. Folding too aggressively here is the most common mistake; it knocks the air out and leaves you with a dense, heavy layer instead of a light one.
Step 4: Warm the Biscoff Spread
Spoon the Biscoff spread into a small microwave-safe bowl and heat in 10-second bursts, stirring between each, until it’s pourable but not hot, about 20 to 30 seconds total. It should drizzle off a spoon in a thin ribbon. If it seizes or looks separated, you’ve overheated it; let it cool for a minute and stir well before using.
Step 5: Layer the Float
Spread a thin layer of the mango cream on the bottom of your trifle dish, then arrange a single layer of Biscoff biscuits over it, breaking pieces as needed to fill gaps. Drizzle a thin line of warmed Biscoff spread over the biscuits, then spread another layer of mango cream on top, followed by a scattering of fresh mango slices. Repeat this layering process, ending with a generous final layer of cream. This takes about 12 to 15 minutes total. Aim for at least 3 full layers of biscuits for the best texture.
Step 6: Chill
Cover the assembled float tightly with plastic wrap, pressing it directly onto the surface of the cream, and refrigerate for at least 6 hours, though overnight is genuinely best.
Step 7: Garnish and Serve
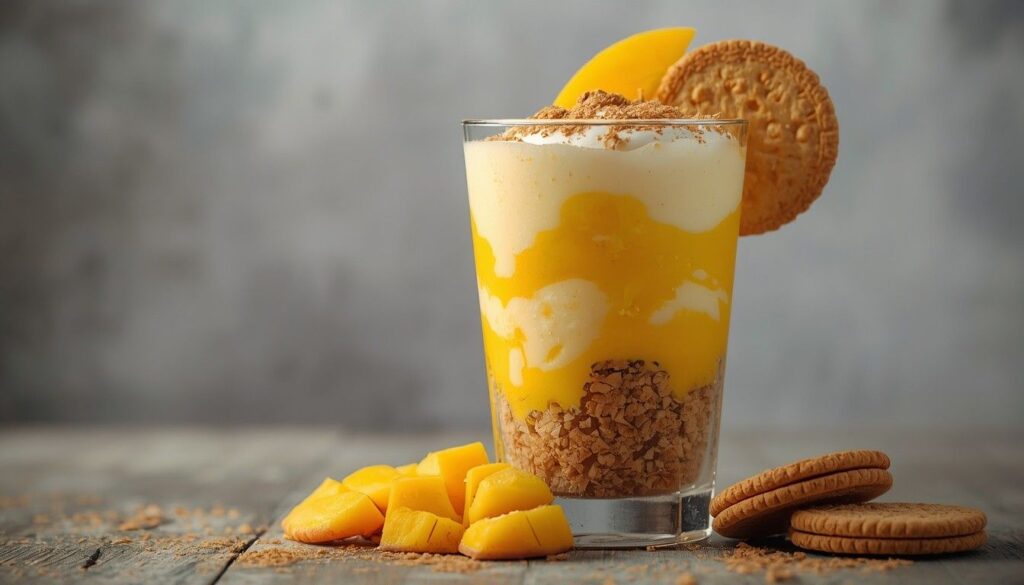
Just before serving, top with a final layer of fresh mango slices, a light dusting of crushed Biscoff biscuits, and an optional extra drizzle of warmed Biscoff spread. Slice with a sharp knife wiped clean between cuts for the neatest layers, about 5 minutes for this final step.
Recipe Card
| Recipe Name | Lotus Biscoff Mango Float |
| Author | Chef Bisma |
| Cuisine | Filipino-inspired Fusion |
| Course | Dessert |
| Difficulty Level | Easy |
| Preparation Time | 25 minutes |
| Chilling Time | 6 hours (overnight recommended) |
| Total Time | 6 hours 25 minutes |
| Servings | 10 servings |
| Calories | 312 kcal per serving |
| Equipment | Trifle dish, hand mixer, blender, spatula |
| Main Ingredients | Lotus Biscoff biscuits, mango, cream, condensed milk |
Nutrition Information
Estimated values per serving, based on 10 servings from the full recipe.
| Nutrient | Amount Per Serving |
| Calories | 312 kcal |
| Protein | 4g |
| Carbohydrates | 34g |
| Fat | 18g |
| Fiber | 1.5g |
| Sugar | 26g |
| Sodium | 145mg |
Serving Suggestions
This float is rich enough to stand entirely on its own, but I love serving it alongside a pot of hot ginger or jasmine tea, the warmth is a nice contrast to the cold, creamy dessert. For a summer gathering, pair it with fresh calamansi or lemonade. If you want to turn it into more of a dessert spread, set it out next to a bowl of extra mango chunks and a small pitcher of warmed Biscoff spread so guests can add more on their own.
Storage and Reheating Guide
- Refrigerator: Store covered tightly with plastic wrap pressed onto the surface for up to 3 days. The texture actually holds up well and some people prefer it on day two.
- Freezer: You can freeze it without the fresh mango garnish for up to 1 month. Thaw overnight in the fridge before serving; the texture will be slightly softer but still enjoyable.
- Reheating: This is a no-bake, chilled dessert, so it’s meant to be served cold and doesn’t need reheating.
- Shelf Life: Best within the first 3 days for the freshest texture and flavor; after that, the fresh mango garnish will start to release liquid.
Frequently Asked Questions
Can I use canned mango instead of fresh?
Yes, canned mango pulp works in a pinch.
Why did my biscuits stay crunchy instead of softening?
This almost always comes down to chilling time. Biscuits need a full 6 hours, ideally overnight, of contact with the cream to soften properly.
Can I make this dessert dairy-free?
You can substitute chilled coconut cream for the heavy cream and use a dairy-free cream cheese alternative.
How do I know my mangoes are ripe enough to use?
A ripe mango should give slightly when you press it gently.
Final Thoughts
This Lotus Biscoff Mango Float has become one of those recipes I genuinely look forward to making every mango season, not because it’s complicated, but because it’s the opposite. It’s the kind of dessert that rewards a little patience and gives you something that looks far more impressive than the effort it actually took. If you take one piece of advice from me, let it chill overnight; that’s the single step that turns this from good to genuinely unforgettable.
I’d love to hear how yours turns out, and if you put your own spin on it, I hope it becomes one of your favorites too, the way it did mine.
Happy cooking! — Chef Bisma
Recipes that You’ll Love too: