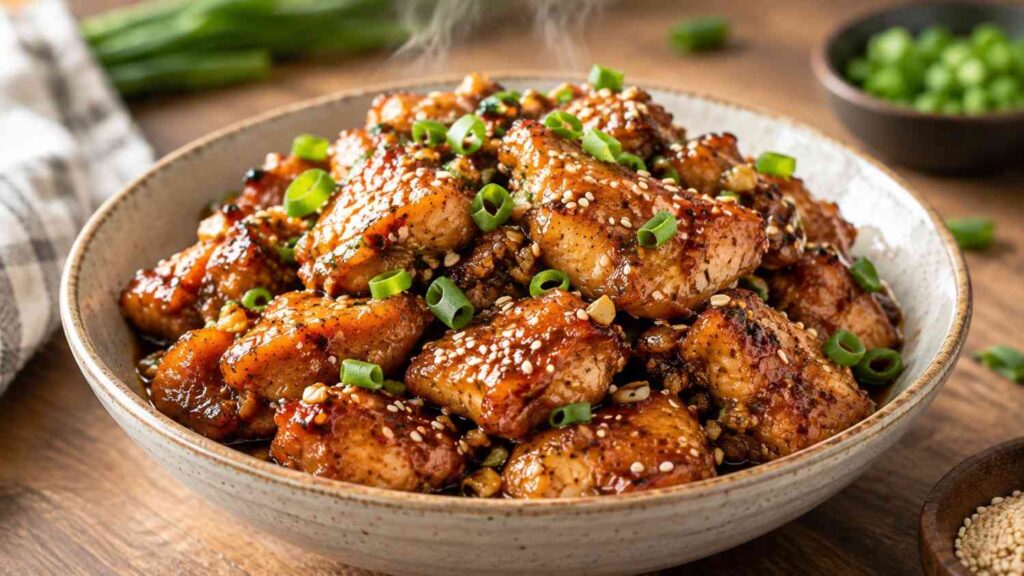

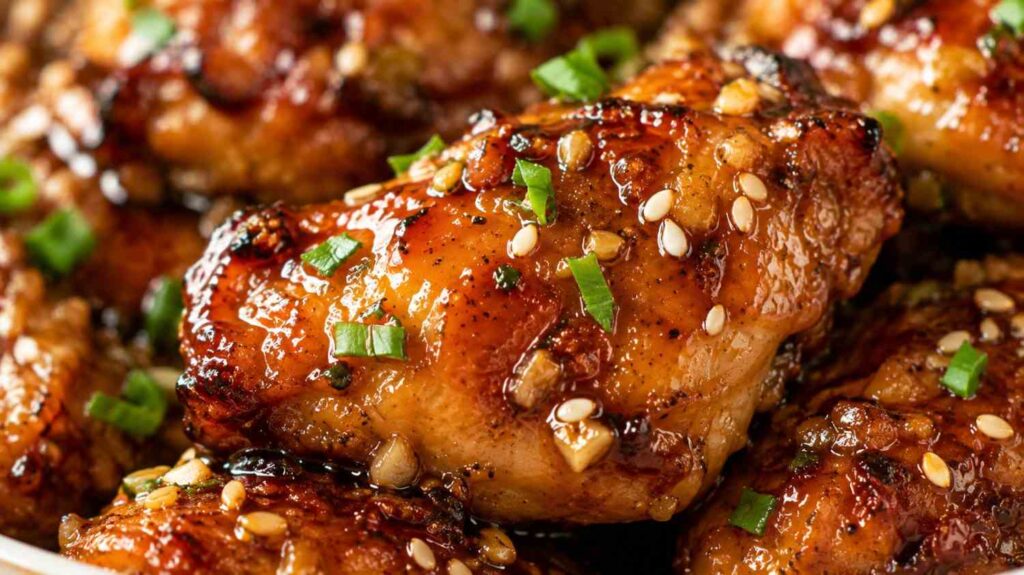
Honey garlic chicken recipe is exactly what it sounds like: tender pieces of chicken, pan-seared until the edges catch a little color, then tossed through a sauce that’s sweet from honey, sharp from garlic, and rounded out with soy sauce and a splash of something acidic to keep it from tasting flat. The texture is what sells it, though — that slightly sticky, clingy glaze that coats every piece and pools a little at the bottom of the plate, just begging to be mopped up with rice or bread.
What I love most is how the smell fills the kitchen before the dish is even plated. Garlic toasting in butter, honey caramelizing at the edges of the pan, a faint tang of vinegar cutting through — it’s the kind of smell that pulls people out of other rooms. This is why sweet and savory honey garlic chicken shows up on so many family dinner tables and why it’s one of the most requested recipes I share on Flavourful Cuisine.
Why You’ll Love Honey Garlic Chicken Recipe
First, the browning matters more than people think. Most recipes rush the sear, which means you lose the little caramelized bits (cooks call this fond) that stick to the pan — and that fond is where a huge amount of flavor lives. This recipe builds the sauce right in the same pan, scraping up every bit of that browned goodness so nothing gets wasted.
Second, the acid-to-sweet ratio is deliberate. A splash of rice vinegar (or apple cider vinegar in a pinch) keeps the honey from tasting cloying, which is the single biggest fix that took this from ‘fine’ to ‘best honey garlic chicken recipe I’ve made’ territory in my own kitchen.
Third, this version doesn’t rely on cornstarch slurry alone to thicken the sauce — it uses reduction as the main thickening method, which gives a glossier, less gluey finish. Cornstarch is still an optional backup for a faster night, but reducing the sauce properly is what gives that restaurant-style shine.
Tips That Make This Chicken Special
I first made honey garlic chicken back when I was still running my old blog, Spices Dragon, and I genuinely botched it the first time. I dumped honey straight into a screaming hot pan without diluting it with anything else, and within about ninety seconds it had gone from glossy to genuinely burnt — bitter, dark, and smelling like scorched sugar rather than that warm caramel note I was chasing.
That mistake taught me the single most important lesson in this whole recipe: honey burns fast, and it burns unevenly, especially in a thin layer across a hot pan. Once I started building the sauce as a mixture — honey plus soy sauce plus garlic plus vinegar, whisked together before it ever touches the heat — the burning problem disappeared completely. It also gave me far more control over how thick I wanted the glaze to get.
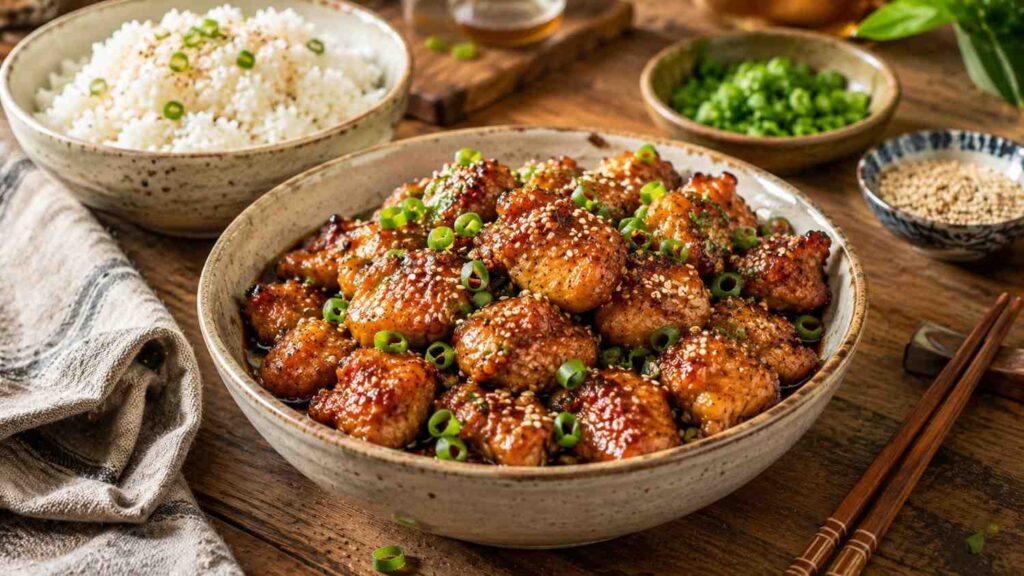
Recipe Success Hacks
Here are the practical shortcuts and pro tricks I actually use, organized by what problem they solve.
Budget Hacks
- Swap boneless chicken thighs for chicken breast — thighs are usually cheaper and stay juicier if you overcook them slightly, which is forgiving for beginners.
- Buy a jar of pre-minced garlic if fresh garlic is pricier that week; the flavor difference is small in a sauce this bold.
- Use regular honey instead of specialty honey (like manuka) — the flavor difference in this particular sauce is minimal once it’s reduced with soy sauce and garlic.
Flavor Hacks
- Add a small knob of butter at the very end of cooking, off the heat, to give the sauce a glossy, restaurant-style finish.
- Toast the minced garlic in the pan for about 20 to 30 seconds before adding the liquid ingredients — it deepens the flavor significantly compared to adding raw garlic straight into the sauce.
- A pinch of red pepper flakes or a small squeeze of sriracha balances the sweetness nicely if you like a bit of heat.
- Finish with fresh lime or lemon juice right before serving — it wakes the whole dish up and keeps it from tasting flat.
Ingredients Breakdown
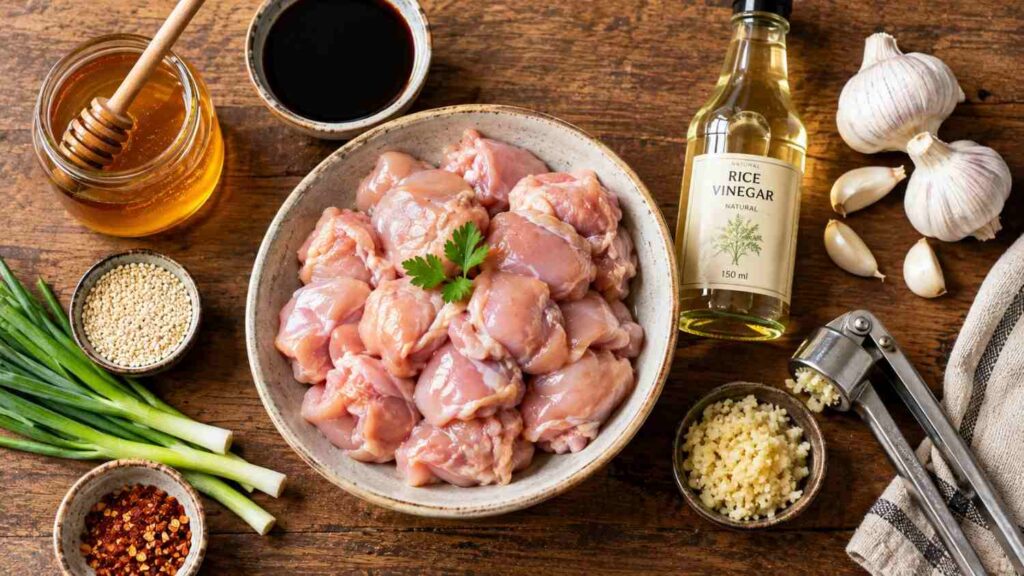
Everything you need, why it’s there, and what you can swap in if needed.
| Ingredient | Amount |
| Boneless, skinless chicken thighs | 1.5 lbs (about 680 g), cut into bite-sized pieces |
| Salt and black pepper | 1/2 tsp salt, 1/4 tsp pepper |
| Cornstarch (optional) | 1 tbsp |
| Neutral oil | 1 tbsp |
| Garlic, minced | 5 to 6 cloves (about 2 tbsp) |
| Honey | 1/3 cup |
| Low-sodium soy sauce | 1/4 cup |
| Rice vinegar | 1 tbsp |
| Water or chicken broth | 1/4 cup |
| Butter (optional finishing touch) | 1 tbsp |
| Sesame seeds and sliced green onion | For garnish |
Kitchen Tools Required
| Tool |
| Large nonstick or cast-iron skillet |
| Sharp chef’s knife |
| Cutting board (ideally a separate one for raw meat) |
| Mixing bowl |
| Whisk or fork |
| Tongs |
| Measuring cups and spoons |
How To Make Honey Garlic Chicken At Home
Prep the chicken
Pat the chicken pieces completely dry with paper towels — this step takes about 1 minute but makes the biggest difference in how well the chicken browns.
Cut into even, bite-sized pieces, about 1 inch across, so everything cooks at the same rate.
Season with salt and pepper, then toss with the cornstarch if using, until lightly coated.
Common mistake: skipping the drying step. Wet chicken steams instead of searing, and you’ll end up with pale, rubbery pieces instead of a golden crust.
Make the sauce
In a mixing bowl, whisk together the honey, soy sauce, rice vinegar, and water (or broth) until fully combined. This takes about 1 minute.
Set this aside within reach of the stove — once the chicken is browned, everything moves quickly.
Chef tip: whisking the sauce separately, rather than adding honey directly to the hot pan, is what prevents burning and gives you full control over consistency.
Sear the chicken
Heat the oil in a large skillet over medium-high heat until it shimmers, about 1 to 2 minutes.
Add the chicken in a single layer, without crowding the pan — cook in two batches if needed.
Sear for 3 to 4 minutes per side, until deep golden brown and mostly cooked through. Visual cue: edges should look crisp and caramelized, not pale.
Common mistake: stirring too often. Let the chicken sit undisturbed to develop color; constant flipping steams it instead.
Build the glaze
Lower the heat to medium and add the minced garlic to the same pan, using the residual oil.
Sauté for 20 to 30 seconds, stirring constantly, until fragrant but not browned. Visual cue: garlic should turn light golden, not deep brown, or it will taste bitter.
Pour in the whisked sauce, scraping up any browned bits stuck to the bottom of the pan with a wooden spoon — this is where a lot of the flavor lives.
Bring to a gentle simmer and let it bubble for 4 to 6 minutes, stirring occasionally, until it reduces and thickens enough to coat the back of a spoon.
Finish the dish
Return the chicken (and any juices from the plate) to the pan, tossing to coat every piece in the glaze.
Simmer for another 2 to 3 minutes so the chicken finishes cooking through and absorbs the sauce. Internal temperature should read 165°F (74°C).
Turn off the heat and stir in the butter, if using, until glossy.
Common mistake: leaving the chicken in the sauce too long over high heat — the sugars can start to catch and burn on the bottom of the pan.
Garnish and serve
Transfer to a serving plate or individual bowls.
Sprinkle with sesame seeds and sliced green onion.
Serve immediately while the glaze is still warm and glossy — it thickens further as it cools.
Recipe Card
| Recipe Name | Honey Garlic Chicken |
| Author | Chef Bisma |
| Cuisine | Asian-American fusion |
| Course | Main dish / dinner |
| Difficulty Level | Beginner-friendly |
| Preparation Time | 10 minutes |
| Cooking Time | 20 minutes |
| Total Time | 30 minutes |
| Servings | 4 servings |
| Calories | Approximately 360 kcal per serving |
| Equipment | Large skillet, mixing bowl, whisk, tongs, cutting board, chef’s knife |
| Main Ingredients | Chicken thighs, honey, garlic, soy sauce, rice vinegar |
Nutrition Information
Estimated values per serving (serves 4):
| Nutrient | Amount |
| Calories | 360 kcal |
| Protein | 29 g |
| Carbohydrates | 24 g |
| Fat | 16 g |
| Fiber | 0.5 g |
| Sugar | 20 g |
| Sodium | 620 mg |
Serving Suggestions
This dish practically asks for a bed of steamed jasmine rice to soak up every last bit of sauce, though fluffy white rice or garlic butter noodles work just as well. For something lighter, spoon it over cauliflower rice or a bed of shredded cabbage slaw.
On the side, steamed broccoli, sautéed bok choy, or simple roasted green beans add a fresh, slightly bitter contrast to the sweetness of the glaze. A quick cucumber salad with rice vinegar and sesame oil also works beautifully here.
For drinks, this pairs nicely with a chilled jasmine or green tea if you’re keeping things simple, or a crisp, slightly off-dry white wine like Riesling if you want to elevate a weeknight dinner into something special.
Storage and Reheating Guide
Refrigerator: Store leftovers in an airtight container for up to 4 days. The sauce actually deepens in flavor overnight, so this is one of those dishes that tastes even better the next day.
Freezer: Freeze in a freezer-safe container for up to 2 months. Thaw overnight in the refrigerator before reheating for the best texture.
Reheating: Warm gently in a skillet over medium-low heat with a splash of water or broth to loosen the sauce, stirring occasionally, for about 5 minutes. Microwaving works in a pinch — cover loosely and heat in 30-second bursts, stirring in between, to avoid drying out the chicken.
Shelf life: Best eaten within 4 days from the fridge or 2 months from the freezer for the best flavor and texture.
Frequently Asked Questions (FAQs)
Can I use chicken breast instead of thighs?
Yes, chicken breast works well, though it cooks faster and can dry out more easily.
Why did my sauce turn out thin?
This usually means it didn’t simmer long enough to reduce. Let it bubble gently for a few extra minutes, stirring occasionally, until it coats the back of a spoon.
Can I make this gluten-free?
Yes, simply swap the regular soy sauce for tamari or a certified gluten-free soy sauce alternative — the rest of the ingredients are naturally gluten-free.
Can I cook this in the oven instead of on the stovetop?
You can bake seasoned chicken pieces at 400°F (200°C) for about 18 to 20 minutes, then toss with the sauce, which you’d reduce separately on the stovetop first. The stovetop method gives better browning, though.
How do I keep the chicken from turning out dry?
Avoid overcooking past 165°F (74°C) internally, and don’t leave it simmering in the sauce for too long over high heat. Chicken thighs are more forgiving here than chicken breast.
What’s the best way to reheat leftovers without drying them out?
Reheat gently in a skillet over medium-low heat with a splash of water or broth, rather than blasting it in the microwave on high, which tends to toughen the chicken.
Final Thoughts
If there’s one recipe I’d hand you on a busy Tuesday and promise you’ll actually enjoy making, it’s this one. Honey garlic chicken doesn’t ask for anything complicated — just a hot pan, a little patience while it sears, and a sauce you can genuinely taste yourself improving each time you make it.
My honest advice: don’t skip the drying step, don’t rush the garlic, and trust the reduction over a heavy hand with cornstarch. Those three things are what separate a good honey garlic chicken from a great one, at least in my kitchen.
I hope this becomes one of those recipes you return to without needing to check the instructions after the first couple of times — the kind of dinner that just lives in your hands. Happy cooking, and I’d genuinely love to hear how yours turns out.
Happy cooking! — Chef Bisma
Recipes that You’ll Love too: